|
|
Backgrounds:
I came up with this tutorial when looking through Shirow's "Intron
Depot 2 ". I noticed he uses a lot of CG backgrounds now
which were really cool. However, I don't have 3D Studio Max or
even Bryce 4...so I found a way to fake it in Photoshop..and now
I share with you.
You will need Photoshop version 5 or higher to follow this tutorial
and some familiarity with channels and layers.
|
 |
Step 5: Texturize
Here's where
you have a choice. You can try and make your own textures OR you
can save yourself a lot of time and energy by purchasing a StockPhoto
CD like I did. These textures came from bowman design studios.
(See the link on my Links page).
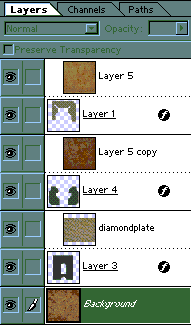
Load a texture on it's own layer above each shape. Hold down the
"Alt" key and click the border between the layers in
the layers pallette.
|
|
|
Step 6: Make some cuts.
Flatten your layers
(choose layer>flatten image)
Grab your pen tool, hold down the shift key and start making slections
inside your shapes. When you have a selection you like hit enter
(by your num pad) and then Ctrl+j.
This puts that selection up on it's own layer.
|
 |
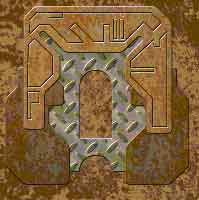
Step 7: Pillow emboss
When you have all the selections on their own layer..right click
that layer and choose "Effects" from the pop up. Deselect
drop shadow and choose
>bevel and emboss
>change the blur setting to 2
>change the emboss type to "Pillow Emboss"
>Keep everything else the same.
It should
look like this.
|
 |
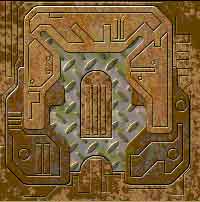
Step 8: Repeat as necessary
Doo the whole thing until your happy with it. f you need to add
more rivits and thing just go back down to the background layer
and repeat steps 6 & 7.
|