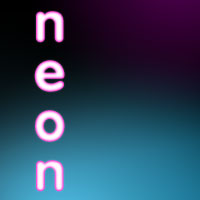
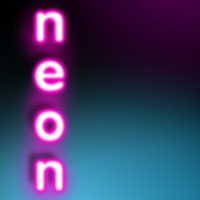
Neon signs
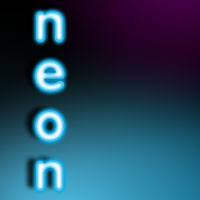
are also really easy to make in Photoshop 5. I'll show you both
ways in case you have an earlier version.
|
 |
Step 1:
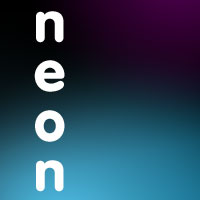
make it dark
Your background
should be dark and use colder nightime colors.
|
 |
Step 2:
Pick a round font
Neon signs are basically bent tubes filled with glowing gas.
There aren't any sharp corners so pick a font the has rounded
edges. I usually make the font color white. The NEON colors are
produced by the filters in the next few steps.
|
 |
Step 3:
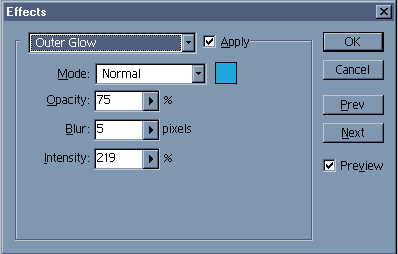
Layer Effects
If you have
photoshop 5 or higher you can do it this way. Don't fret if you
dont..i have alternative steps listed below.
Make your settings similar to what you see here. Do this for both
Inner and Outer glow. Make sure you use the same color.
|
 |
Step 4:
Add a drop shadow
Add a drop
shadow and call it good. Maybe airbrush some of the signs color
onto the wall it's attached to.
|
 |
Alternative
step 1
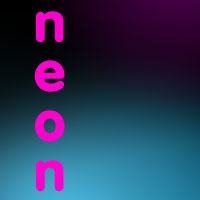
Type your text. Only this time..instead of white, use the color
you want the neon sign to be.
|
 |
Alternative
step 2
Select the text (cntrl-click the layer the text is on). Contract
your selection by a few pixels. Feather the selection by a few
pixels and create a new layer..fill the contracted, feathered
selection with white.
|
 |
Alternative
step 3
Now..go back to your base neon color layer and apply a gaussian
blur to it. Make about 3 copies of this blurred color layer to
enhance the effect.
|
 |
Alternative
step 3
Now add a drop shadow and airbrush some of the neons color onto
the background layer to make it believable. There's a few extra
steps to this alternative method but the results are a little
more realistic. Try this technique with outlined text.
|

