|
|
The Foot:
Know your basic forms!
Like everything
else you draw, the foor also consist of basic forms. I break it
down into 3 parts.
1) a cylinder for the shin
2) a half a peanut for the front
3) A roundish shape for the heel
|
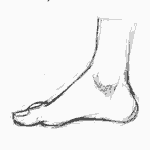 |
Side view
Here you can
kinda see those basic shapes beneath the foot.
The shin comes into the ankejoint which then branches back for
the heel and forward to the toes. Notice the foot does not sit
FLAT on the ground plane..there's an arch between the toe pads
and the heel pad.
|
 |
If
the shoe fits...
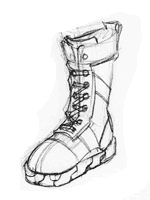
A shoe is
basically just a wrap for the basic foot shapes. Looking at pictures
of shoes will give you ideas for styles. Here I chose a modified
US Army Jungleboot. Make sure you make the Sole of the shoe go
below where the bottom of the foot would be. There's about a 1/4
of an inch to 4" of rubber between the bottom of the foot
and the bottom of the sole.
|
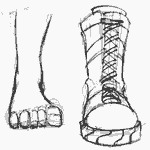 |
If
your stuck...
Draw the foot first. That will give
you a better idea on how to wrap the shoe around the foot form.
|
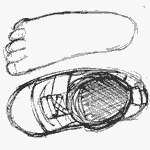 |
the
Wedge
Notice how the foot is shaped like a
rounded wedge the bend IN towards the body's center. The toes
are also arced like the fingers of the hand...the middle toe is
usually the longest.
|
 |
The
Instep
Okay,
this foots a bit wide but you see the important structures. Everyone's
seen foorptints in the sand. The heel and Ball of the foot are
linked by the outside edge of the foot. The arch of the foot doesn't
come into contact with the ground.
|
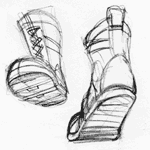 |
Mastering
forms in perspective
Once you understand how a foot is put
together you can start getting creative with action poses. Take
a good look at those basic shapes I drew in step one and see if
you can find them in this drawing to the left.
Practice Practice Practice!
|


