|
|
Backgrounds:
I came up with this tutorial when looking through Shirow's "Intron
Depot 2 ". I noticed he uses a lot of CG backgrounds now
which were really cool. However, I don't have 3D Studio Max or
even Bryce 4...so I found a way to fake it in Photoshop..and now
I share with you.
You will need Photoshop version 5 or higher to follow this tutorial
and some familiarity with channels and layers.
|
 |
Step 1: Define Shapes
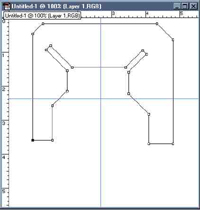
Using your
pen tool. Hold down the shift key and make a funky shape like
you see here. Holding down the shift key constrains the line to
a 45 or 90 degree angle. It helps keep thing clear later. When
you are happy with your shape...hit the enter key by your numeric
pad. This converts the penline into a selection of marching ants.
|
 |
Step 2: Round the corners
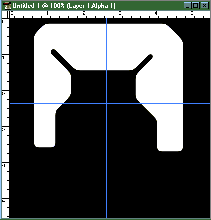
Click on your channels pallate and create a new channel (alpha
1). Fill your selection with White and deselect it. Apply a gaussian
blur of 5 or so pixels till the edges aren't so sharp. Hit Ctrl-L
to bring up your levels dialog box and slide the black arrow and
the white arrow toward the grey arrow in the middle. Notice how
your edges become crispy again but now the corners are all smooth?
Nifty.
|
 |
Step 3: Repeat as necessary
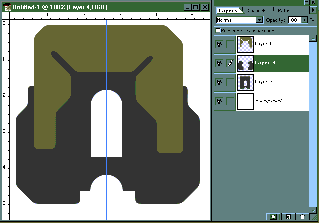
Do this a few time till you have all the shapes you want. Load
each selection (by ctrl clicking on the alpha channel) on its
own layer and fill it any old color. You should have something
similar to what you see on the left.
|
 |
Step 4: bevel those badboys
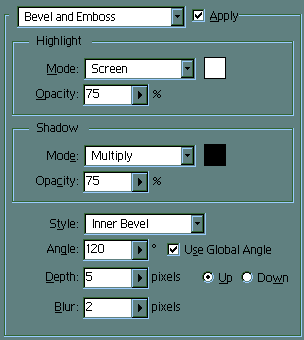
Right click on a layer containing a shape. Choose "Effects"
from the pop-up box.
Enter a value similar to what you see here.
Mouse over
the image to the left to see the effect in effect.
|